Give Access of your Account Without Sharing Password
Now you need not to worry about your important mails while you are on Holidays or any other business trips. You just authorize your subordinates or your agents to receive your emails and they can reply on those mails on your behalf without sharing login credentials of your account.
The Beauty of this feature is, this reply message will not be saved in their sent folder. It will be saved in your sent folder only. So whenever you access your email, can check all the replies that your subordinates/agents have done on your behalf.
Let’s see how this feature work
- Suppose the person “LX” is a Business Analyst. LX is going on holidays. Now how her client’s emails will be taken care?
- “LX” gives authorization to DK (Team member) to access her emails, so he can reply on those emails on the behalf of LX.
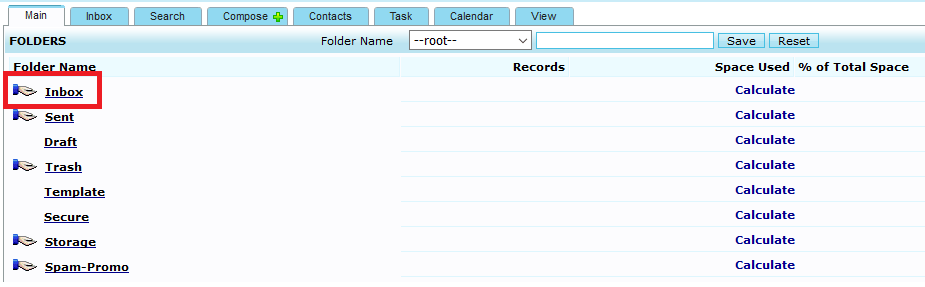
- LX will share her inbox with DK with access rights. For this go to Folders. There is hand icon in front of each folder to share folder.
- If LX wants to share only “Inbox”, then she will click on hand icon in front of “Inbox” folder.
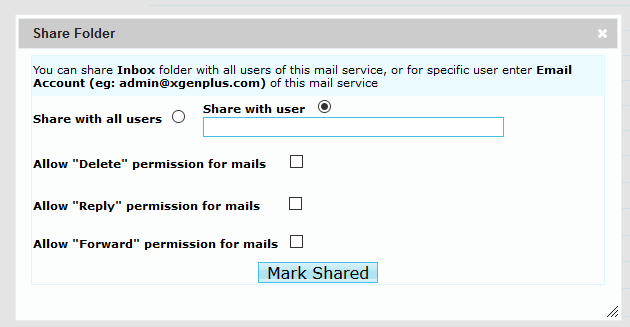
- LX will enter email address of DK to share inbox with him. Now LX can set access right for DK while sharing her folder. She can give rights like:
- Allow Delete, Reply, Forward. Now if LX gives rights for only Allow Reply, then DK can reply on those mails only. He cannot Delete/Froward mails from LX’s inbox.
- Once inbox will be shared, DK can see this inbox in his mail account with other folders. There is a category of Shared folder in folder section. All shared folders will display here. DK can access all the shared folder and can work accordingly.
- LX will share her inbox with DK with access rights. For this go to Folders. There is hand icon in front of each folder to share folder.
- Multiple users can share their account with multiple people.
Now let’s see how mails will be sent on the behalf of LX and how it will be saved in LX’s Sent folder.
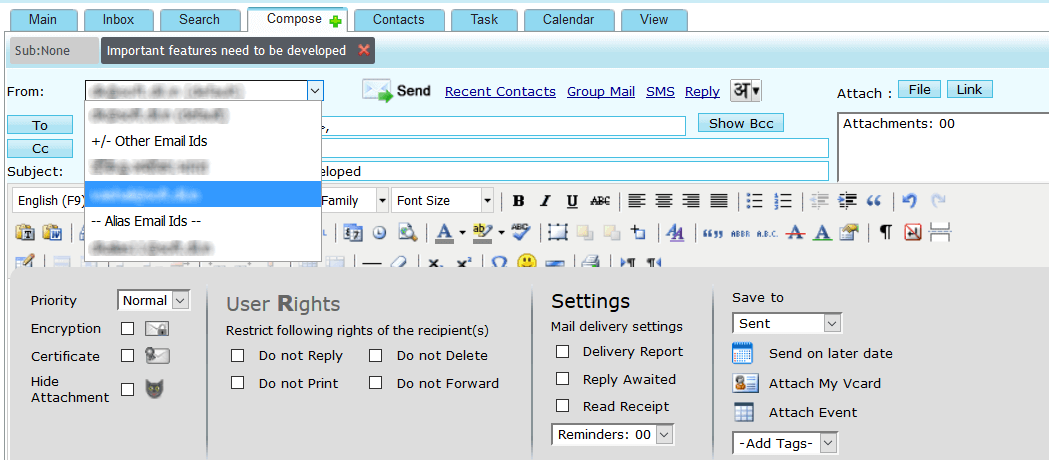
- To get access from LX for sending emails on the behalf of her, DK will click on Add Email Address from the dropdown of FROM ID while compose email.
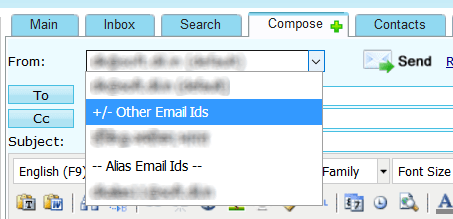
- After clock on +/- Other Email ID, dk will get screen where he can enter Name & Email Address of LX.
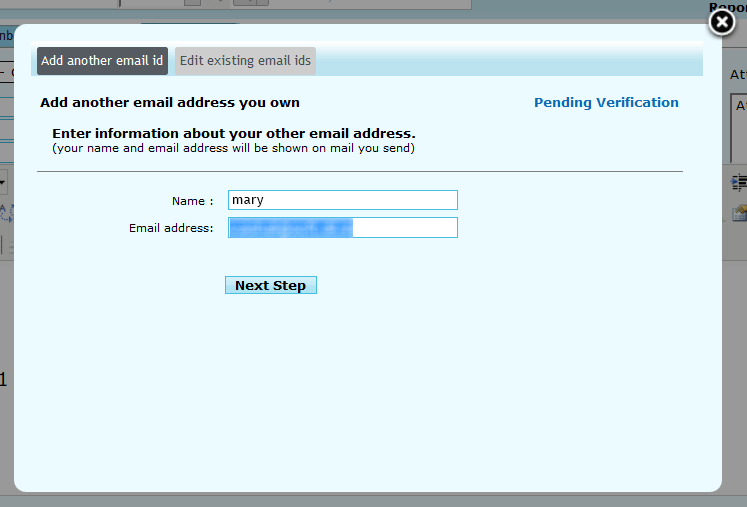
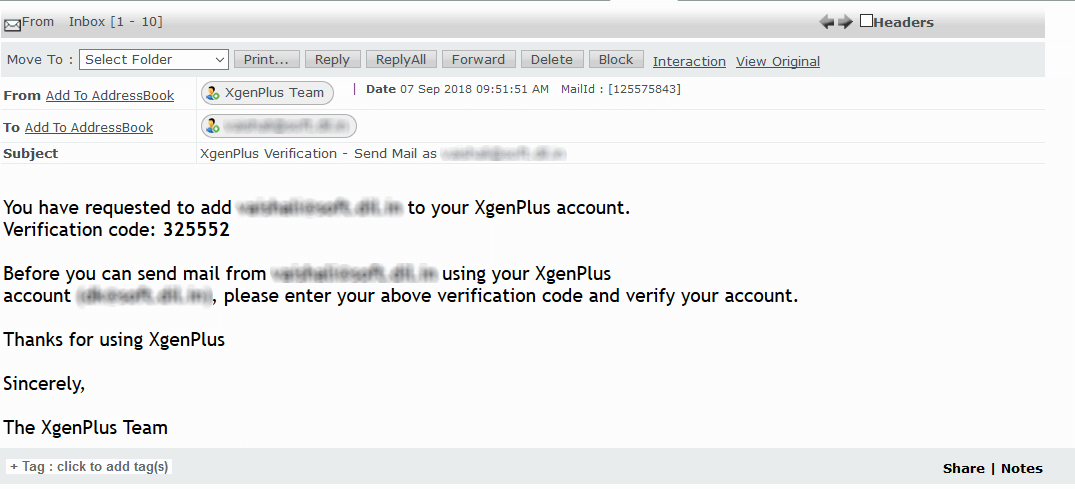
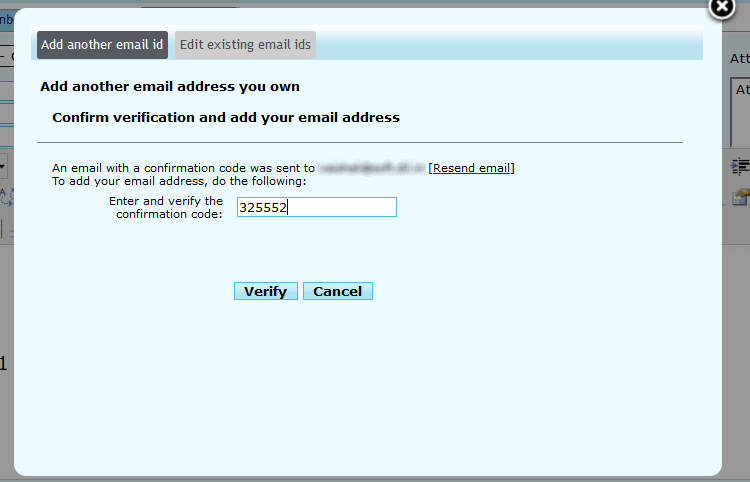
- Once dk move to the next screen, he will get an option to enter verification code, which will be received by LX to authorize dk to send emails on her behalf.
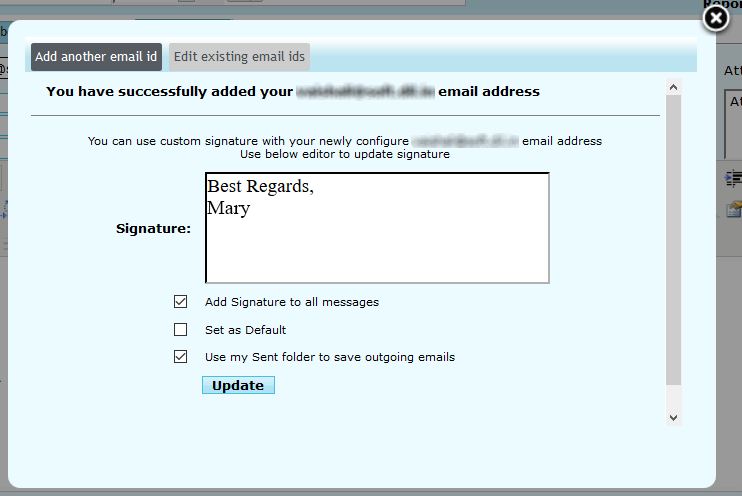
- Once code has been entered by dk, a dialog box will open to set Signature & some settings. These settings will be:
- Add Signature to All Messages (This signature will be sent, whenever dk will send emails by using outgoing ID of LX or will send emails on her behalf.)
- Set as default (DK can set default outgoing email ID of LX by this setting)
- Use My sent folder to save outgoing emails. (If this setting has been enables then all the emails which dk is sending on the behalf of LX, will be saved in LX’s sent box)
How Emails will be sent?
- To reply on emails which has been received in LX’s inbox, DK first open shared inbox of LX and click on the mails on which he wants to reply.
- After click, dk select from ID of LX (from which mails will be sent)
- Once email has been sent, it will be received by receiver, with this display name: dk (Display name set by DK) on behalf of LX. So, receiver will get to know that this mail has been sent by dk.
- Also, this sent mail will not be saved in DK’s sent folder. It will be saved in LX’s sent folder only. In future she can rectify which email has been sent to her client.
- This feature will remove all the hurdles to manage important emails without sharing login details of your account.