Schedule Business Meeting
Xgen Calendar is a Business Calendar, designed to ease creating & scheduling business meetings. XgenPlus Calendar helps User to create execute and record of Meetings. User can invite people to attend the meeting.
XgenPlus servers as one stop solution for all meeting needs.
Steps to schedule meetings in XgenPlus-
- Login XgenPlus Email Portal.
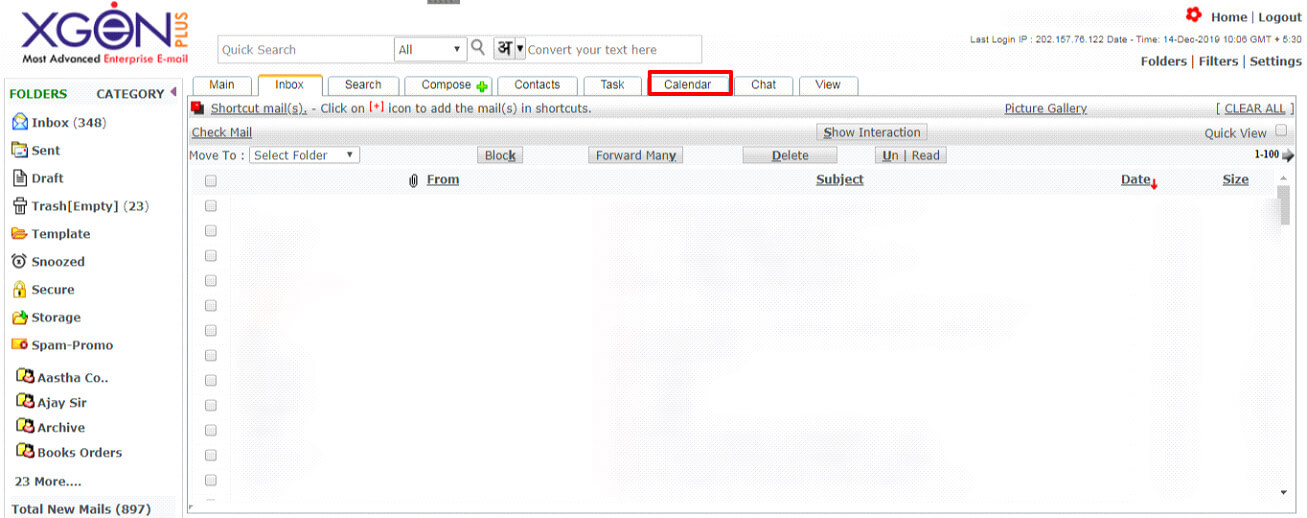
- Select Calendar Option from the Top icons.
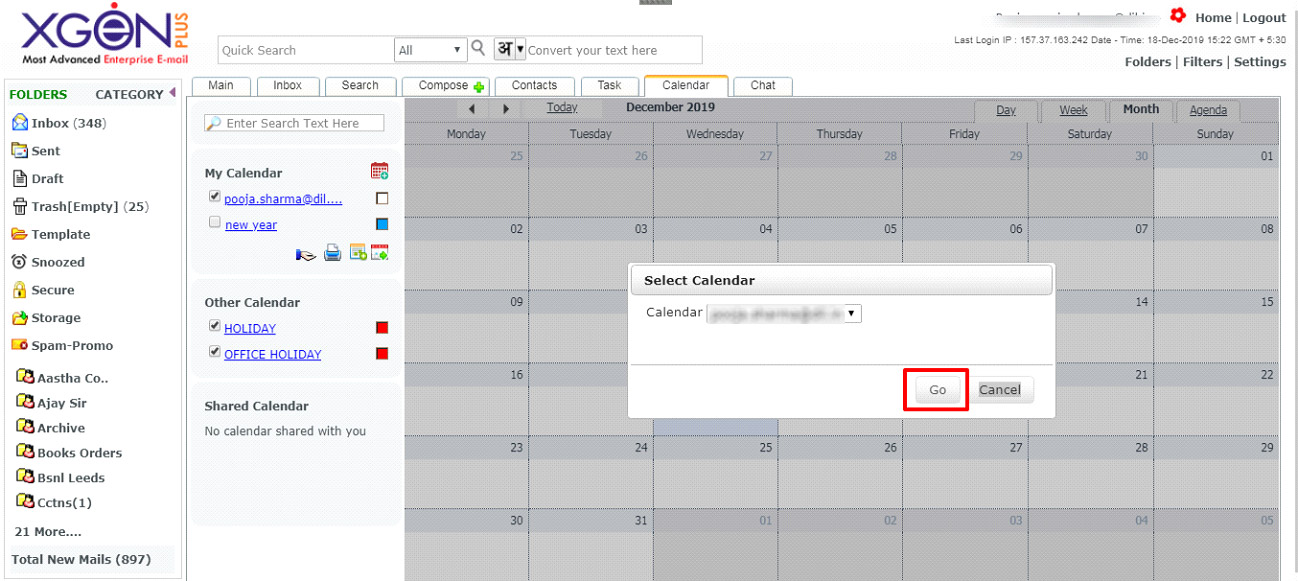
- Select the date for which the meeting needs to schedule.
- Double click on the Date; a screen will open where user can select the Calendar.
- Click on Go option.
- User will be able see screen where he can create meeting, user can schedule meeting & add attendees for the meeting.
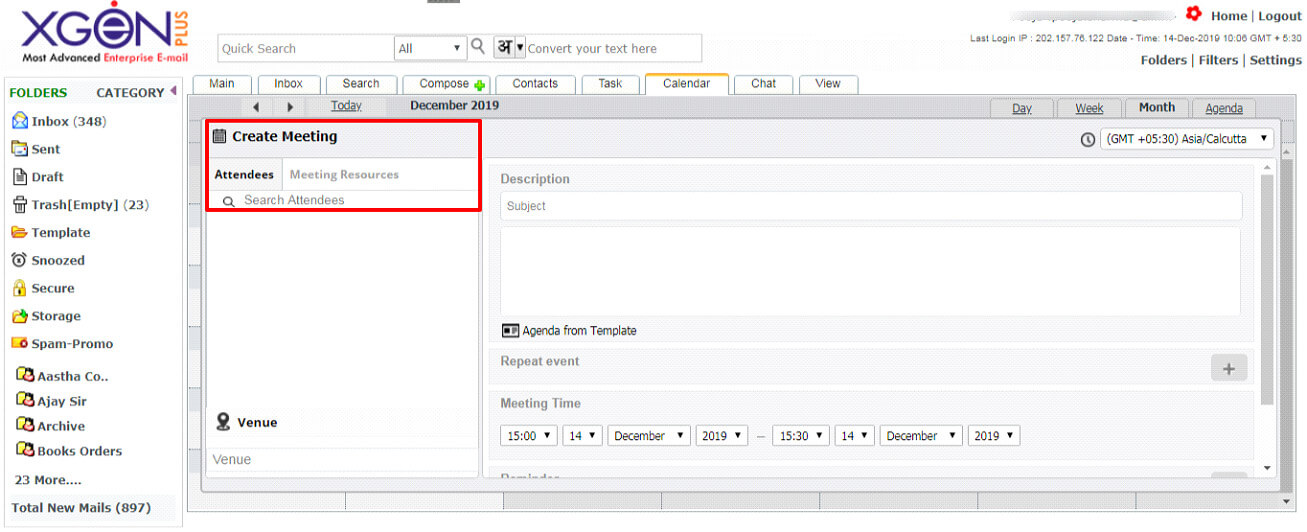
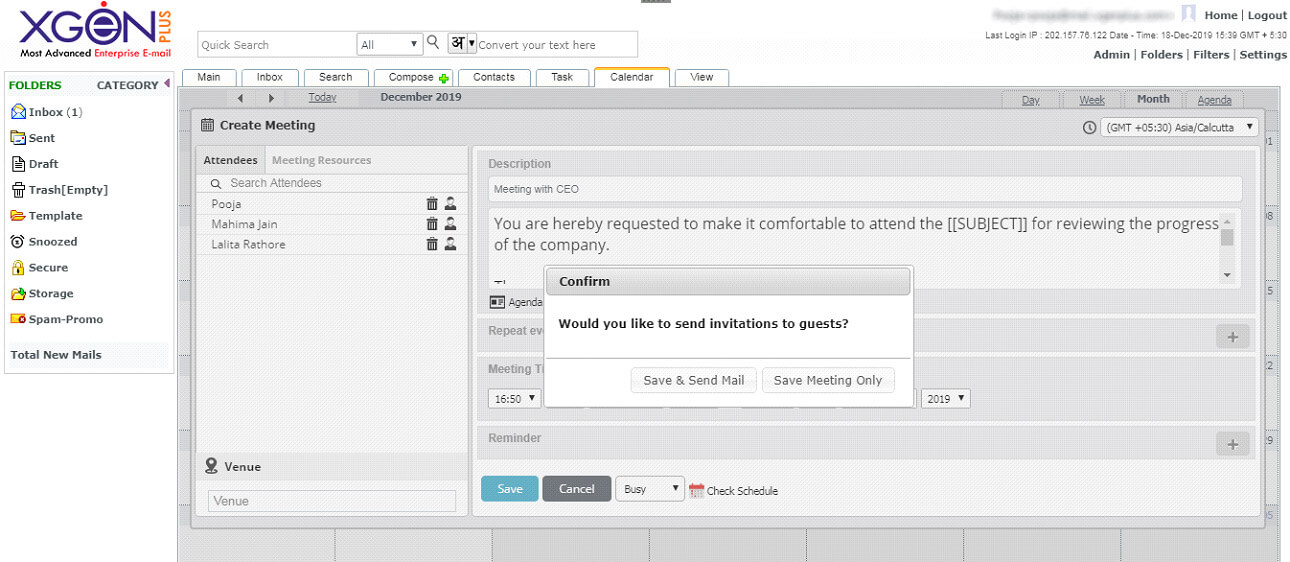
- Select the attendees, from the contacts or with the Mail id of the attendee in search attendee option.
- Relevant Email ID’s will be displayed as searched and can be added.
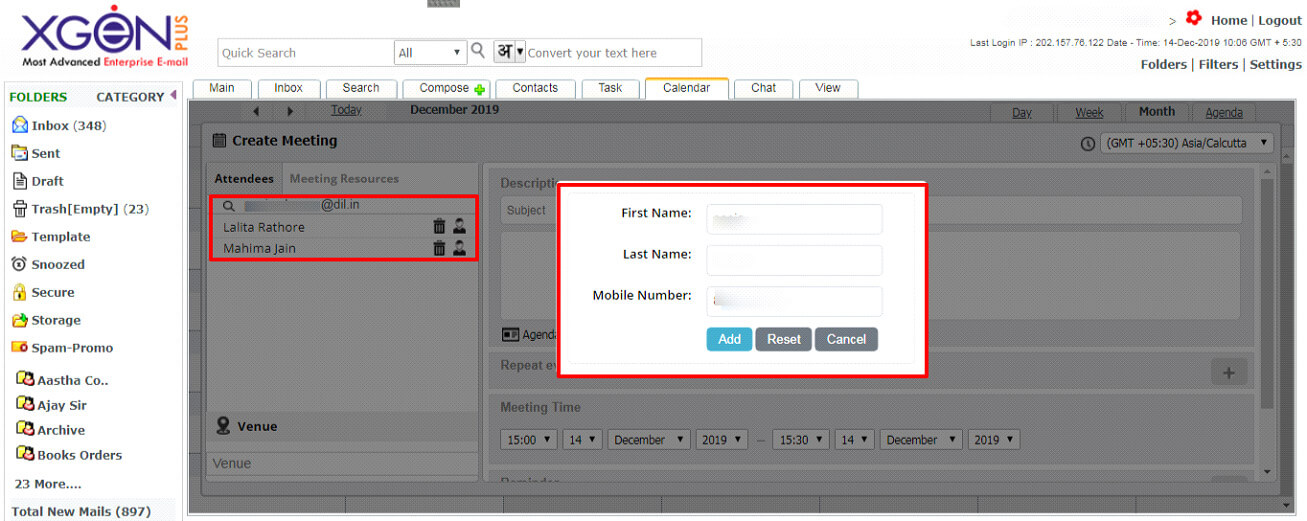
- Note: If the person is not in user’s contact list, then he has to add the member details first, after that he will be able to add the person for attending meeting.
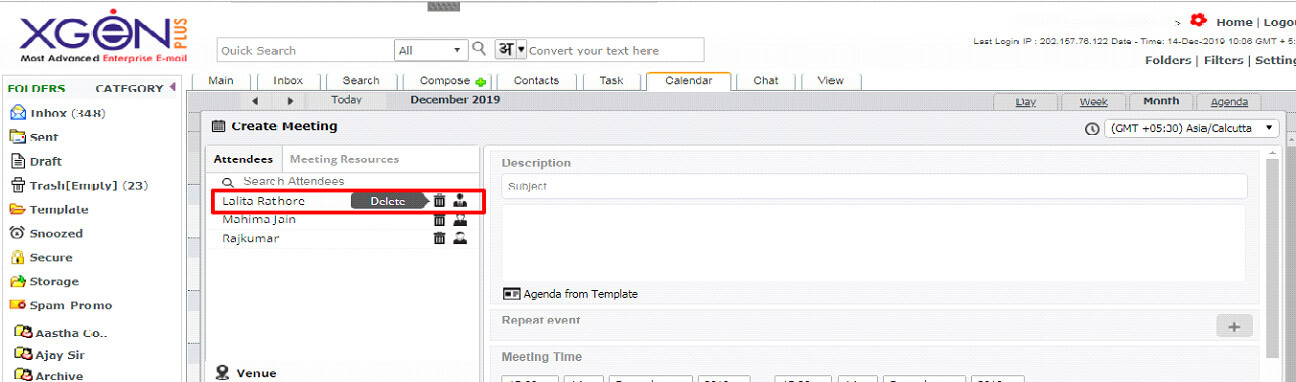
- If user wants to delete a person from the list of attendees, he can do it by selecting the delete option.
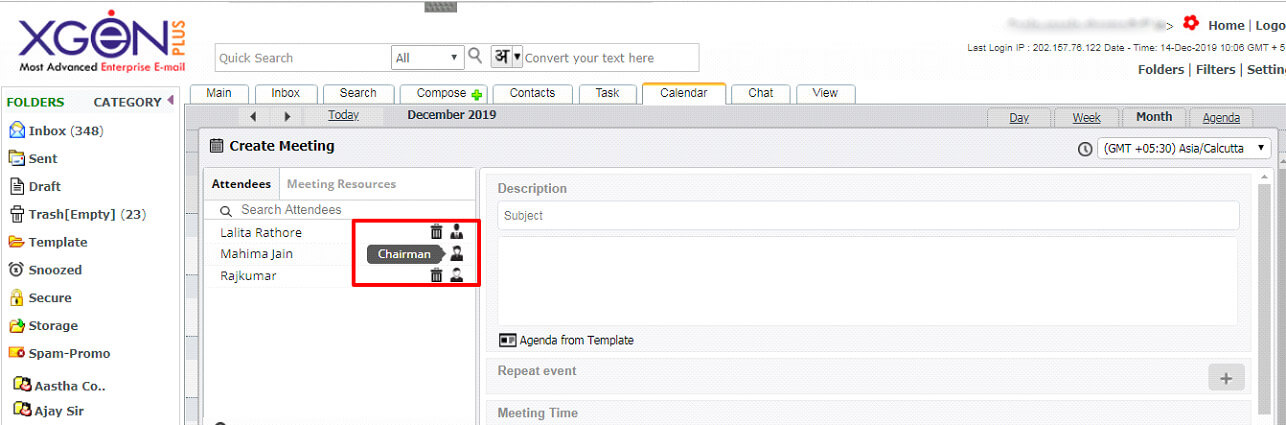
- User can select Chairman, Secretary & Member for the meeting by clicking on profile icon, here the profile image will be change as per the designation selected.
The selected person will be seen in the list.
- User can see the available resources for the meeting in meeting resource option. These options are allowed by the Domain Administrator.
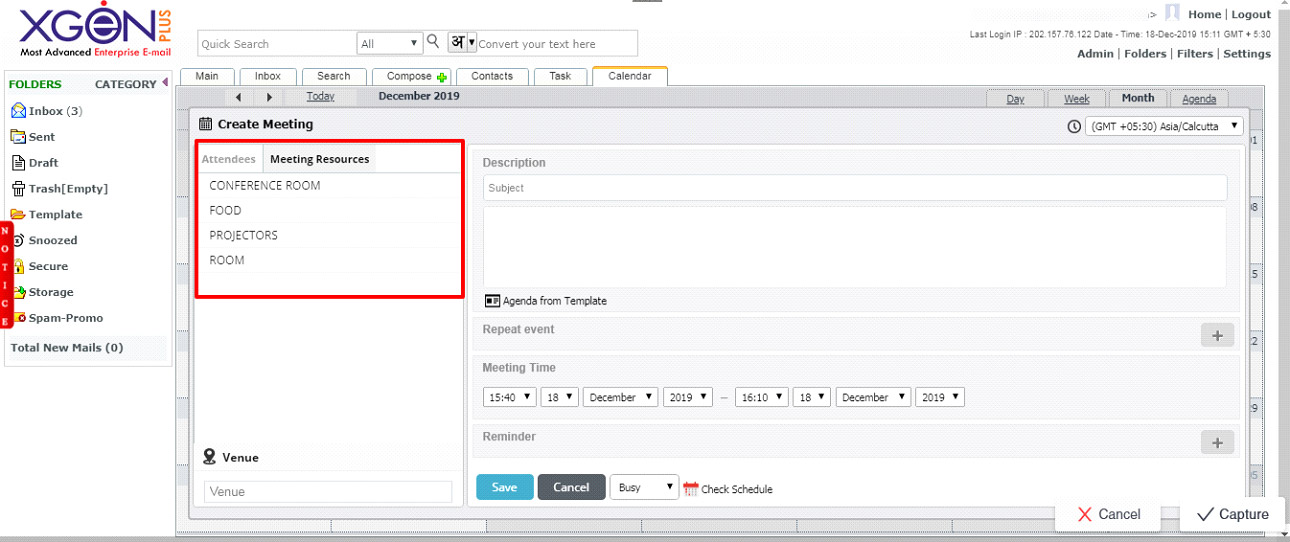
- Select the Resource you want in the meeting.
- Add all the relevant details and rite additional remarks if needed.
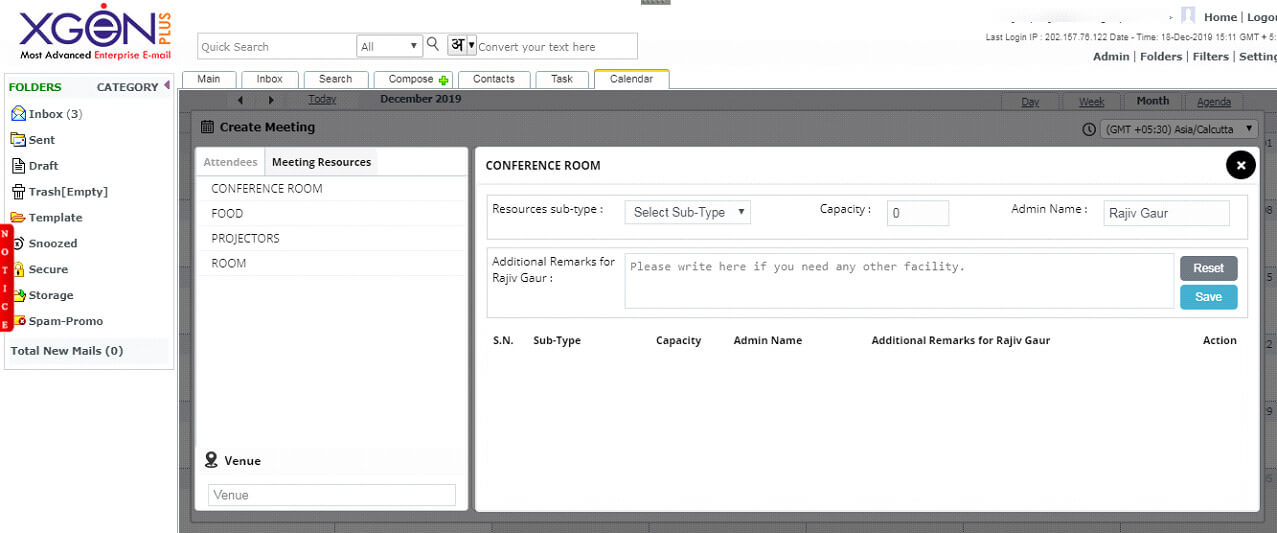
- Save the Resources selected.
- Select the Venue of the Meeting.
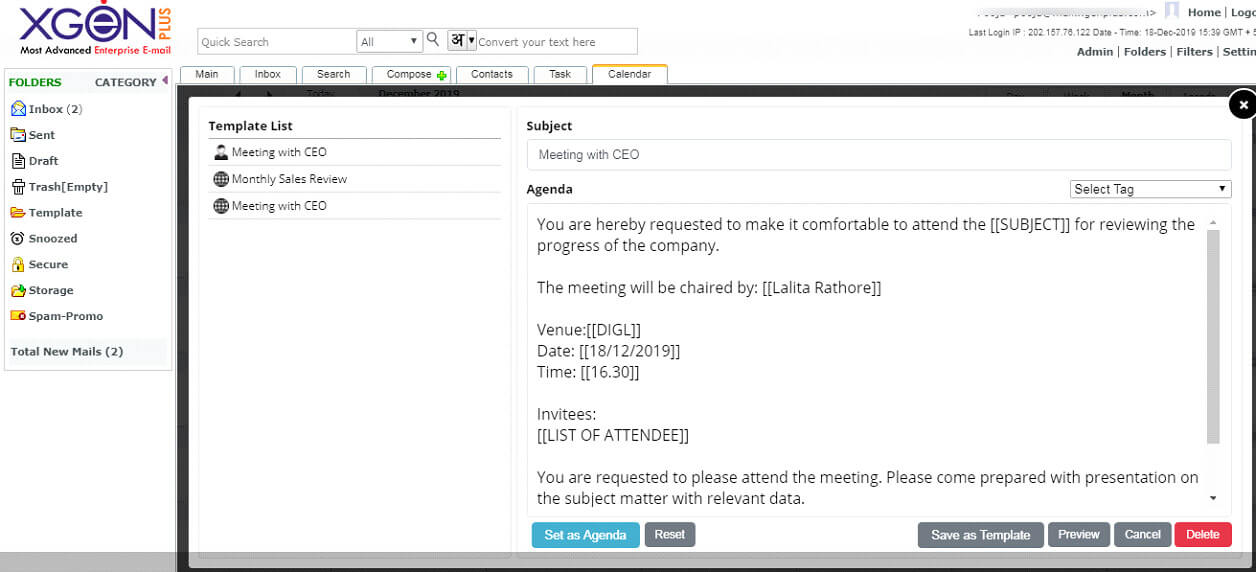
- Create agenda of the meeting. User can either use the Global Template provided by the domain Administrator or he can create his own personal Template.
- Select the Tags to fill the information and Save.
Note- User can create his own agenda and save it for later use also. User can add select Tag like- Designation, List of attendees, Meeting Date, Name of creator, Subject and more
- The meeting invite will be shared with each participant, they receives emails as per the scheduled meeting.
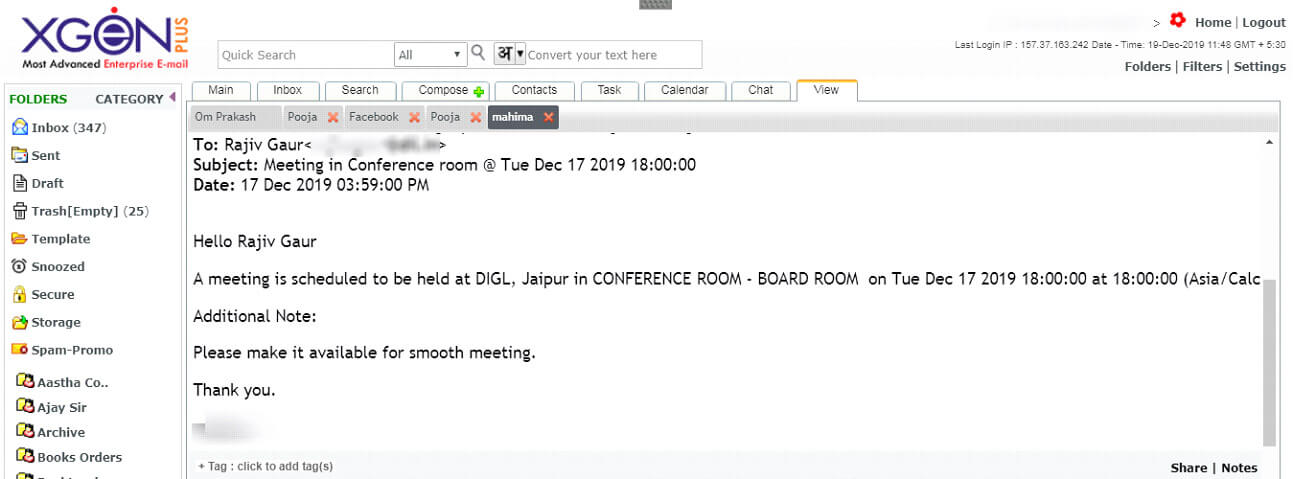
- The Resource Admin will also receive a mail to arrange the resources. (The domain Admin selects the resource admin)
Resource Admin will receive the mail.
- User can check the schedule meeting by clicking on Check Schedule icon.
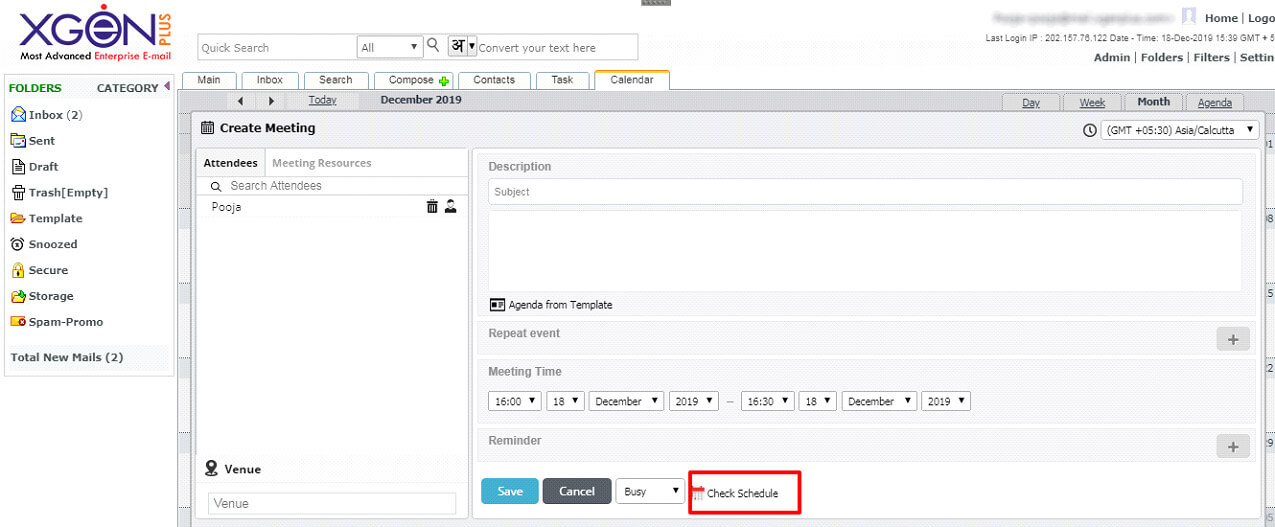
Here user can see the scheduled meeting.

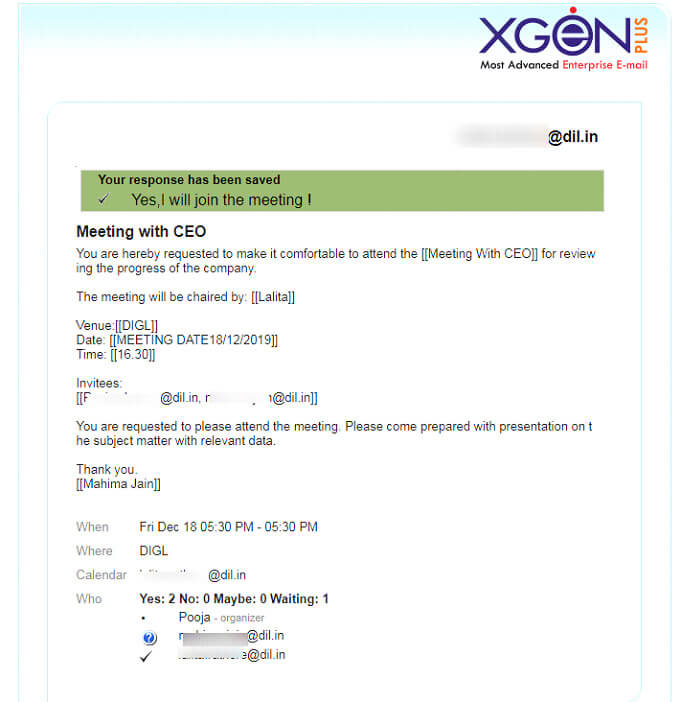
Attendees receive the mail and they can reply about their status if they are attending the meeting Yes, May be or Not.

Whatever status selected by the attendees, the confirmation will be automatically sent to the organizer of the meeting.
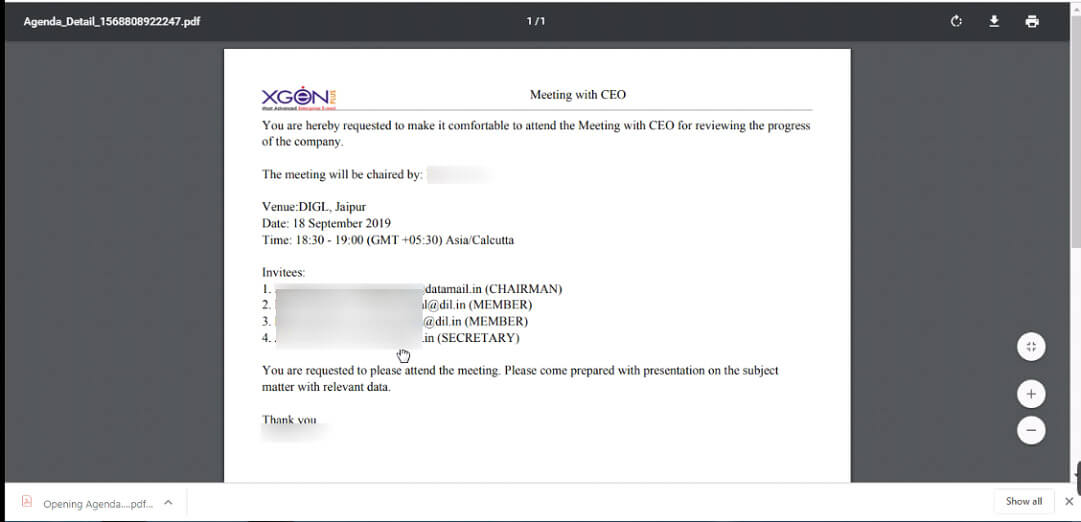
The attendees receive a PDF which can be use for further reference and an ICS file which can be added to the calendar.
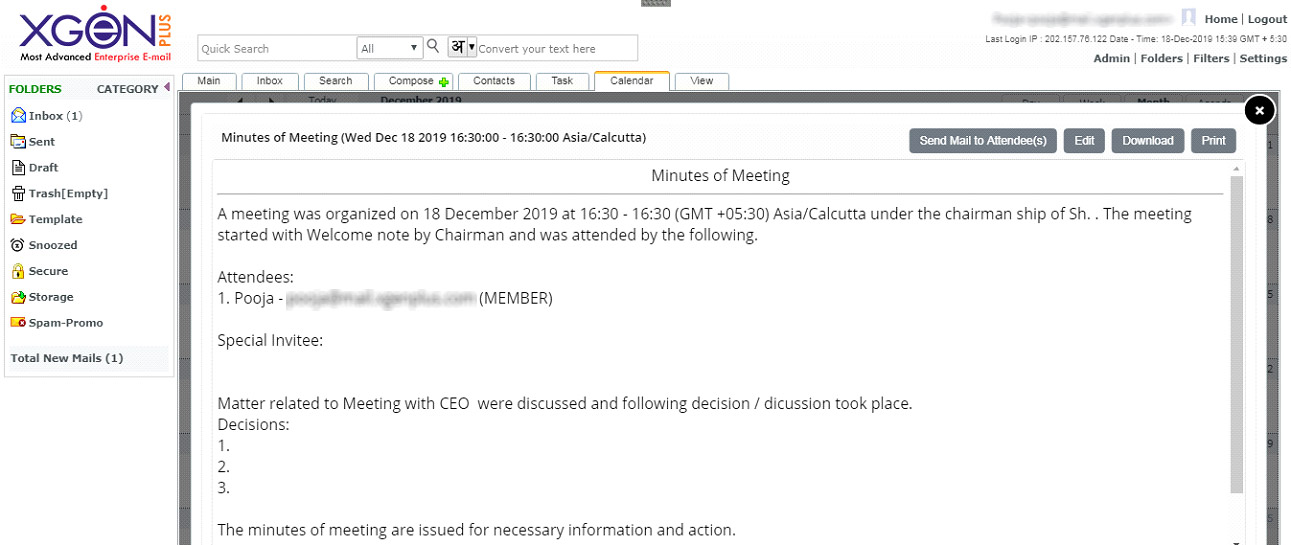
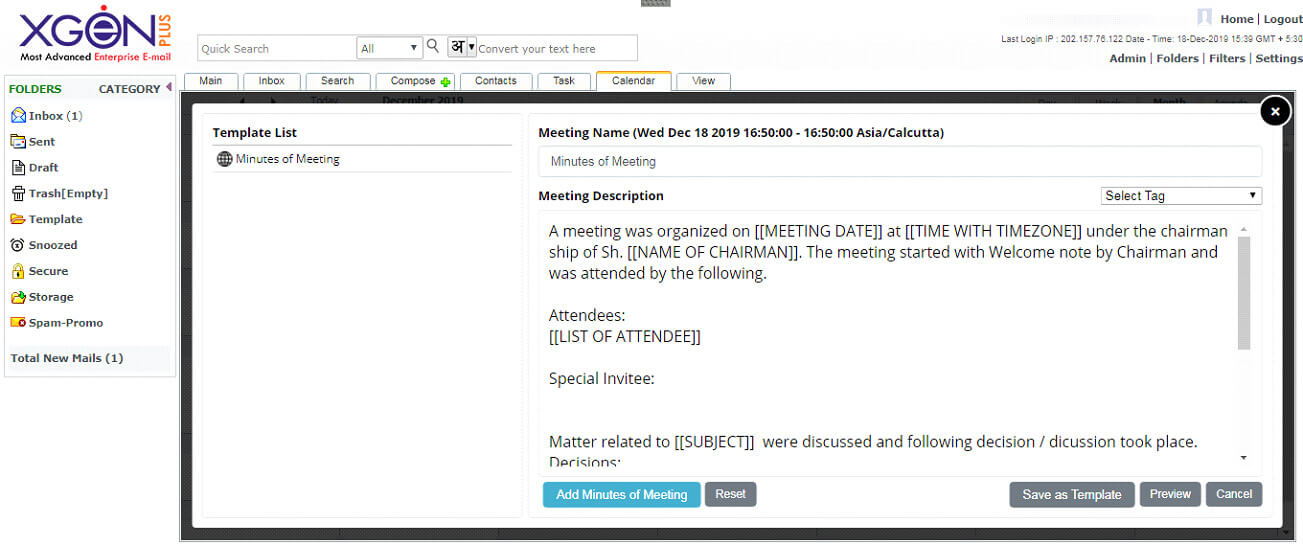
MOM (Minutes of the meeting)
After Completion of the meeting an option will be visible for MOM (Minutes of the meeting), where user can update details about the discussions in the meeting. This feature is important as it helps to keep a track of the meeting agenda and its outcome at the same place.
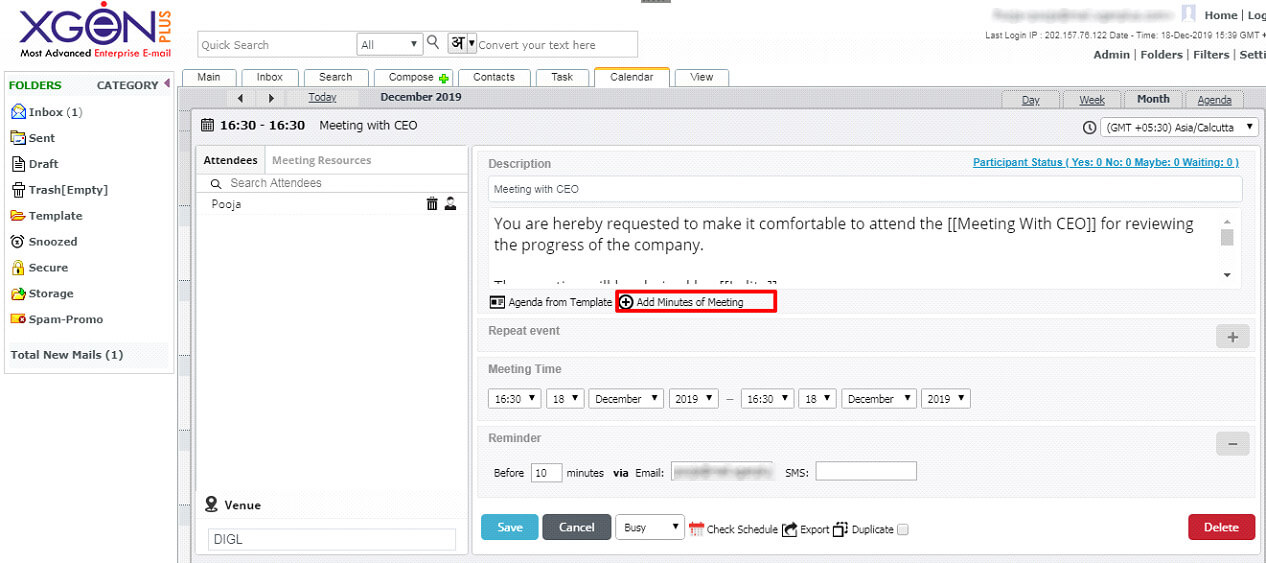
Note-MOM option is only available after completion of the meeting.
User can create minutes of meeting or he can choose from the template for the same.
Select the Minutes of Meeting option, and create the outcome.
User can View and send the MOM to the attendees. User can also send the MOM to special attendees of the meeting.